Hello ![]()
Over the years I’ve come to love Webhooks ![]()
It’s the glue between platforms & services that allows us to create advanced features with our Webflow sites.
But until now, we’ve always had to use a 3rd party service to take advantage of Webhooks ![]()
Make, Integromat, Zapier, etc…
While those services are great (I still use them daily), not being forced into using them would remove a lot of frustration and wasted effort on our part.
So it was amazing when I stumbled upon Airtable’s latest feature.
Native Webhooks.

Yep.
Instead of sending your Webflow form submits to Zapier, or Make and then forwarding them to Airtable - now you can just send those form submits directly into your Airtable base ![]()
How does this magic work?
Let’s run through a quick build to clear up that confusion and get you building solutions quicker, and with let pain ![]()
Step 1
Create a standard Airtable base. Noting unique here.

Give it only a “Name” column for this quick walk through.
Step 2
Flip over to Airtable automations:

Add a new trigger:

…and find the new magic ![]()
“When webhook received”
That’s the new delicious awesome we’re looking for.

Now you’re able to grab your newly generated Webhooks URL and copy it to your clipboard.
Do that now.
Step 3
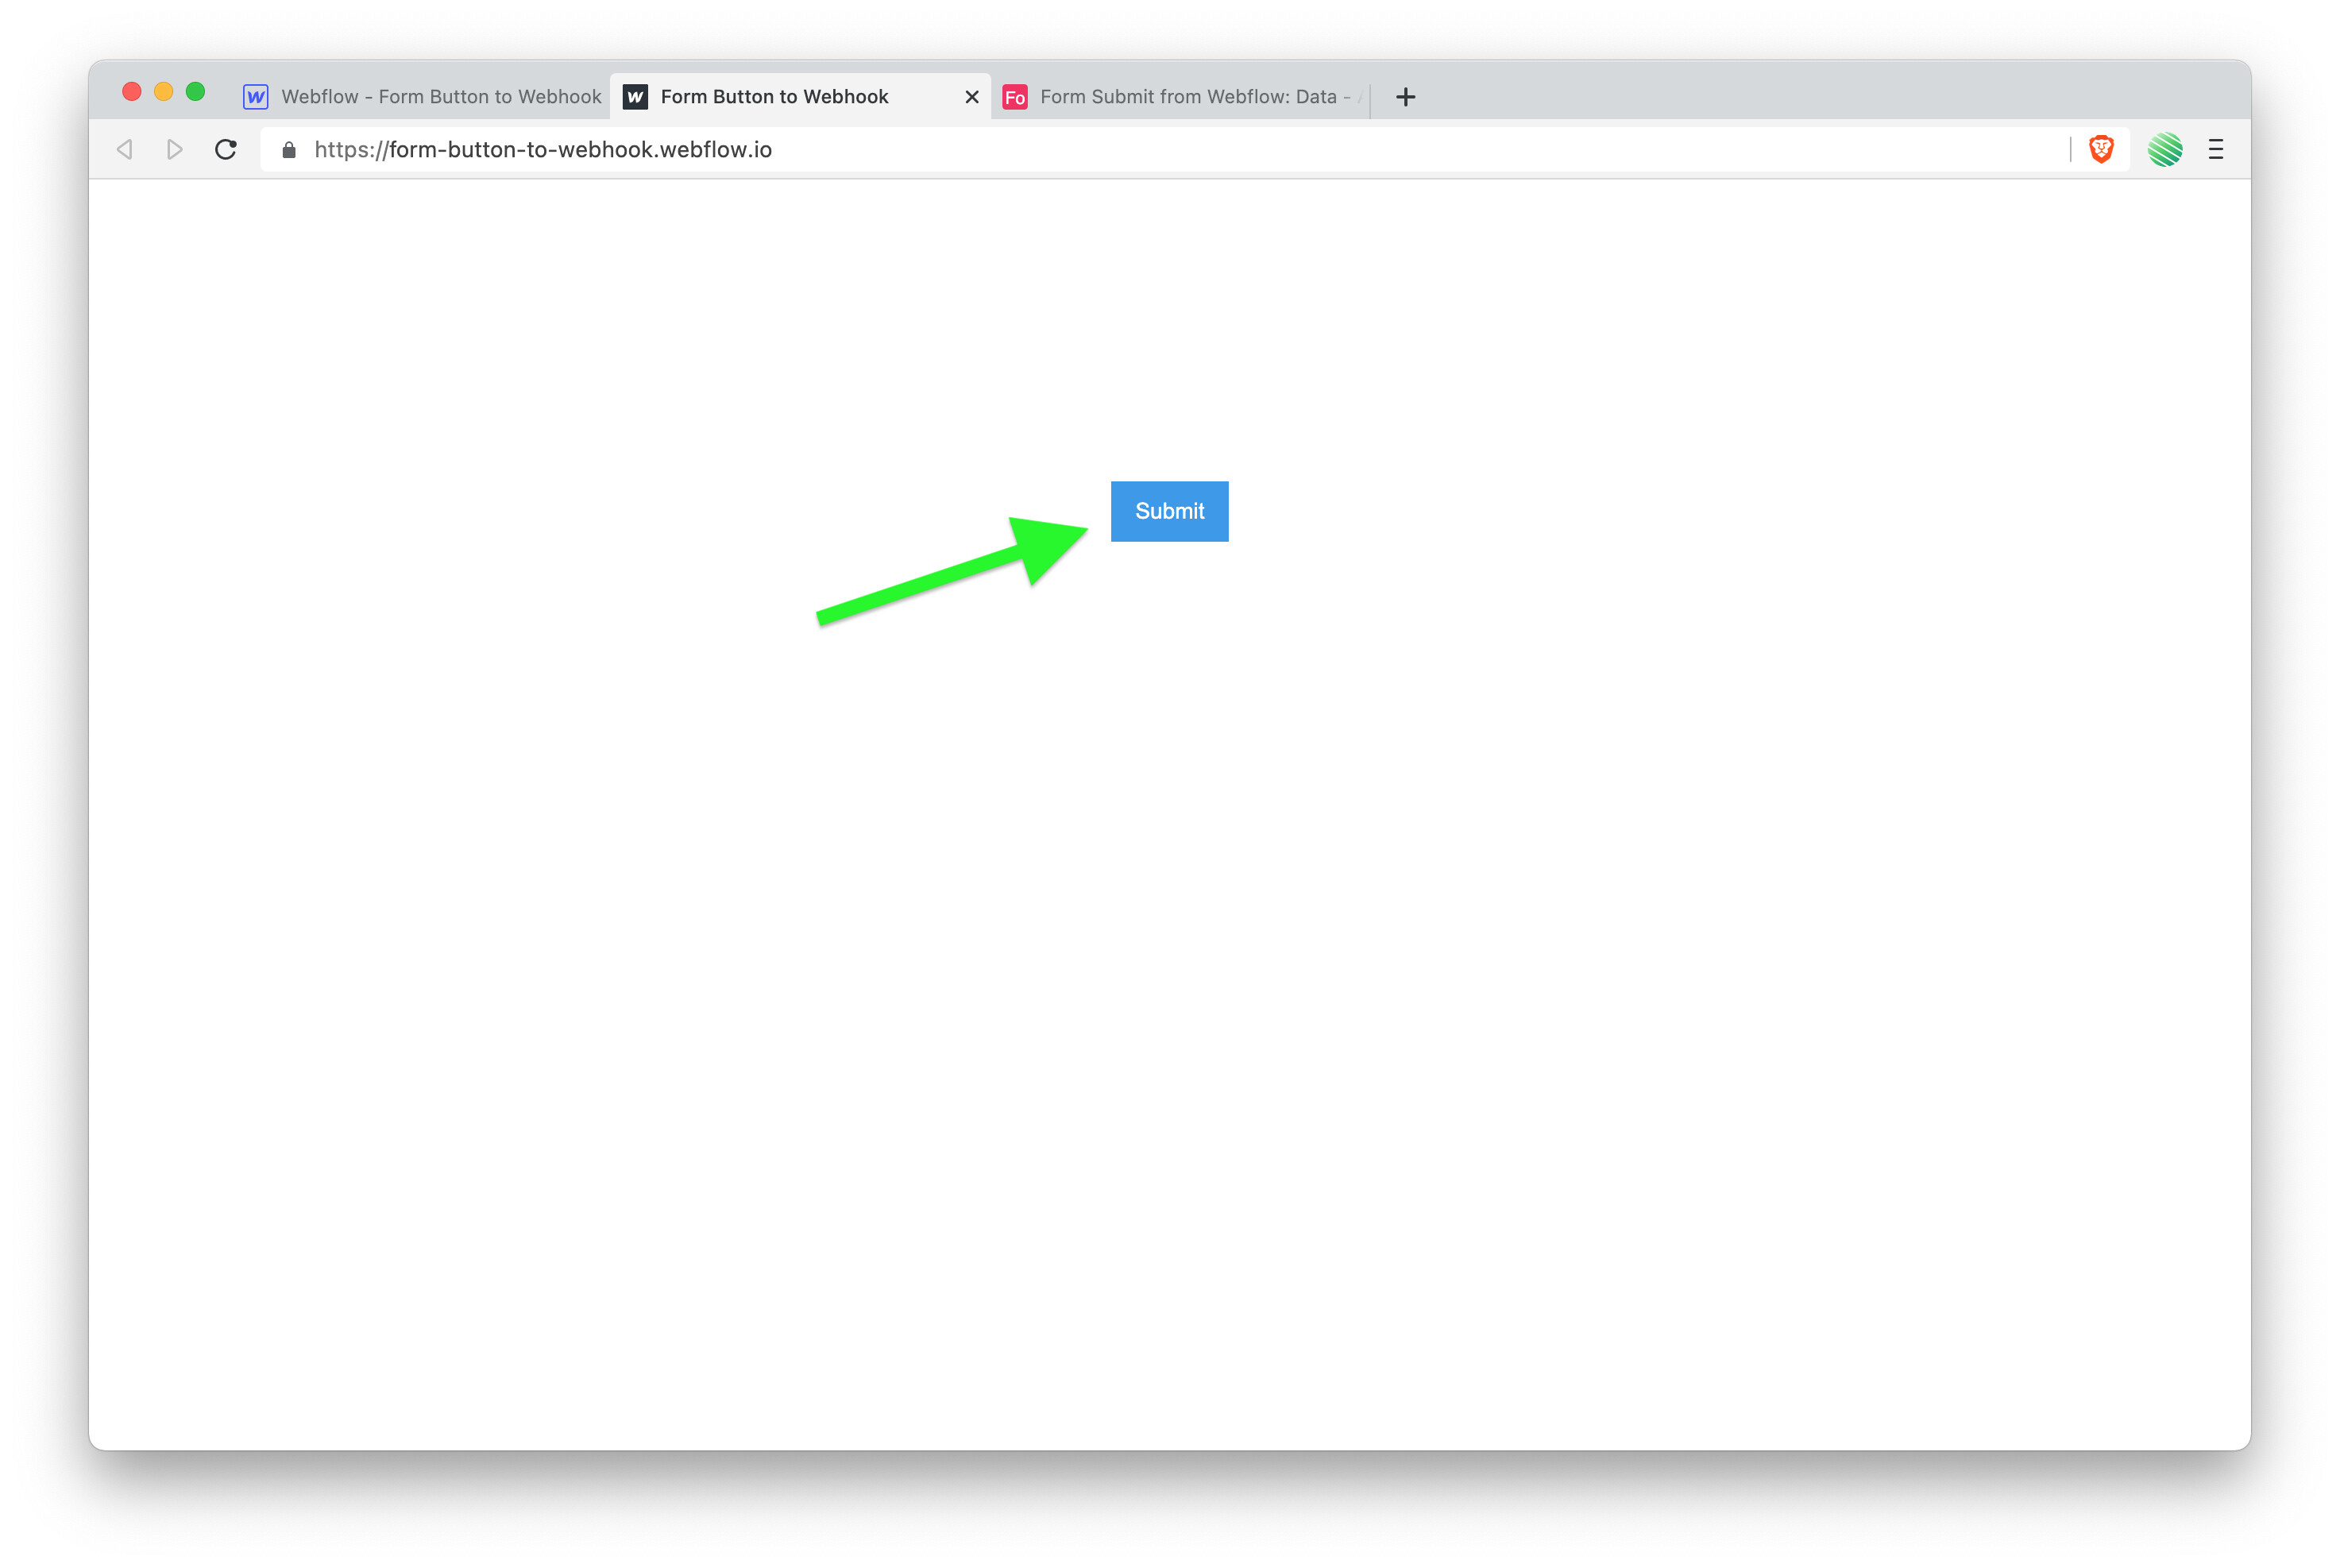
Head over to the Webflow Designer, add a basic form (nothing special here) and for this quickie walk through remove the default form fields leaving only the form button.

Paste your copied Airtable Webhook URL into the forms “Action” field. Make sure you’ve select “POST” for the forms “Method”.
Publish your project, open the live site, and tap on your fancy new form button.

Step 4
If you’ve used Webhooks with Zapier or Make you’ll be familiar with this step.

Back to your Airtable automation and tap on the “Test trigger” button. This will look for the form submission you just made to this Webhook.
You should have received a success message ![]()
Now, you’ll add an action to that trigger.
In our case, you’ll add some data to your Airtable base field.

Select the table and the field.

…and add a temp message for this fields value.
Of course, in a “real” workflow you’d map the form fields filled out by your user to Airtable fields, but this is just a quick run through.
My temp message is “Form submit triggered!” and I’d expect to see that in my Airtable base when I submit the Webflow form.
Step 5
Test your new Webhook automation!

Turn on your Airtable automation.
Reopen your Webflow live site and tap the submit button again.
![]() Boom!
Boom!

Life is good.
There are definitely use-cases for continuing to use glue services like Make or Zapier.
But if you just need simple form data in your Airtable base, this is a nice option.
![]() Cheers!
Cheers!
