Has anyone built an e-commerce store and used any automation integrations to send new order data to a third-party application?
I am working on a project for a client and I would like to automate the new order data consisting of purchase and delivery details to be transferred to an app like Airtable either using Zapier, something similar, or Webflow’s own logic.
Hey Sean! Here’s a general outline to set this up:
Webflow E-commerce Setup
Ensure your Webflow e-commerce store is fully set up with products and checkout functionality.
Test a transaction to make sure the order data is being recorded.
Airtable Setup
Create a base in Airtable with fields that correspond to the data points you want to capture from Webflow. Common fields include Order ID, Customer Name, Product Purchased, Quantity, Price, Total Amount, Address, Email, Phone Number, etc.
Zapier Setup
Log into your Zapier account or create one if you don’t have it.
Click on Make a Zap.
For the Trigger:
Search for Webflow and select it.
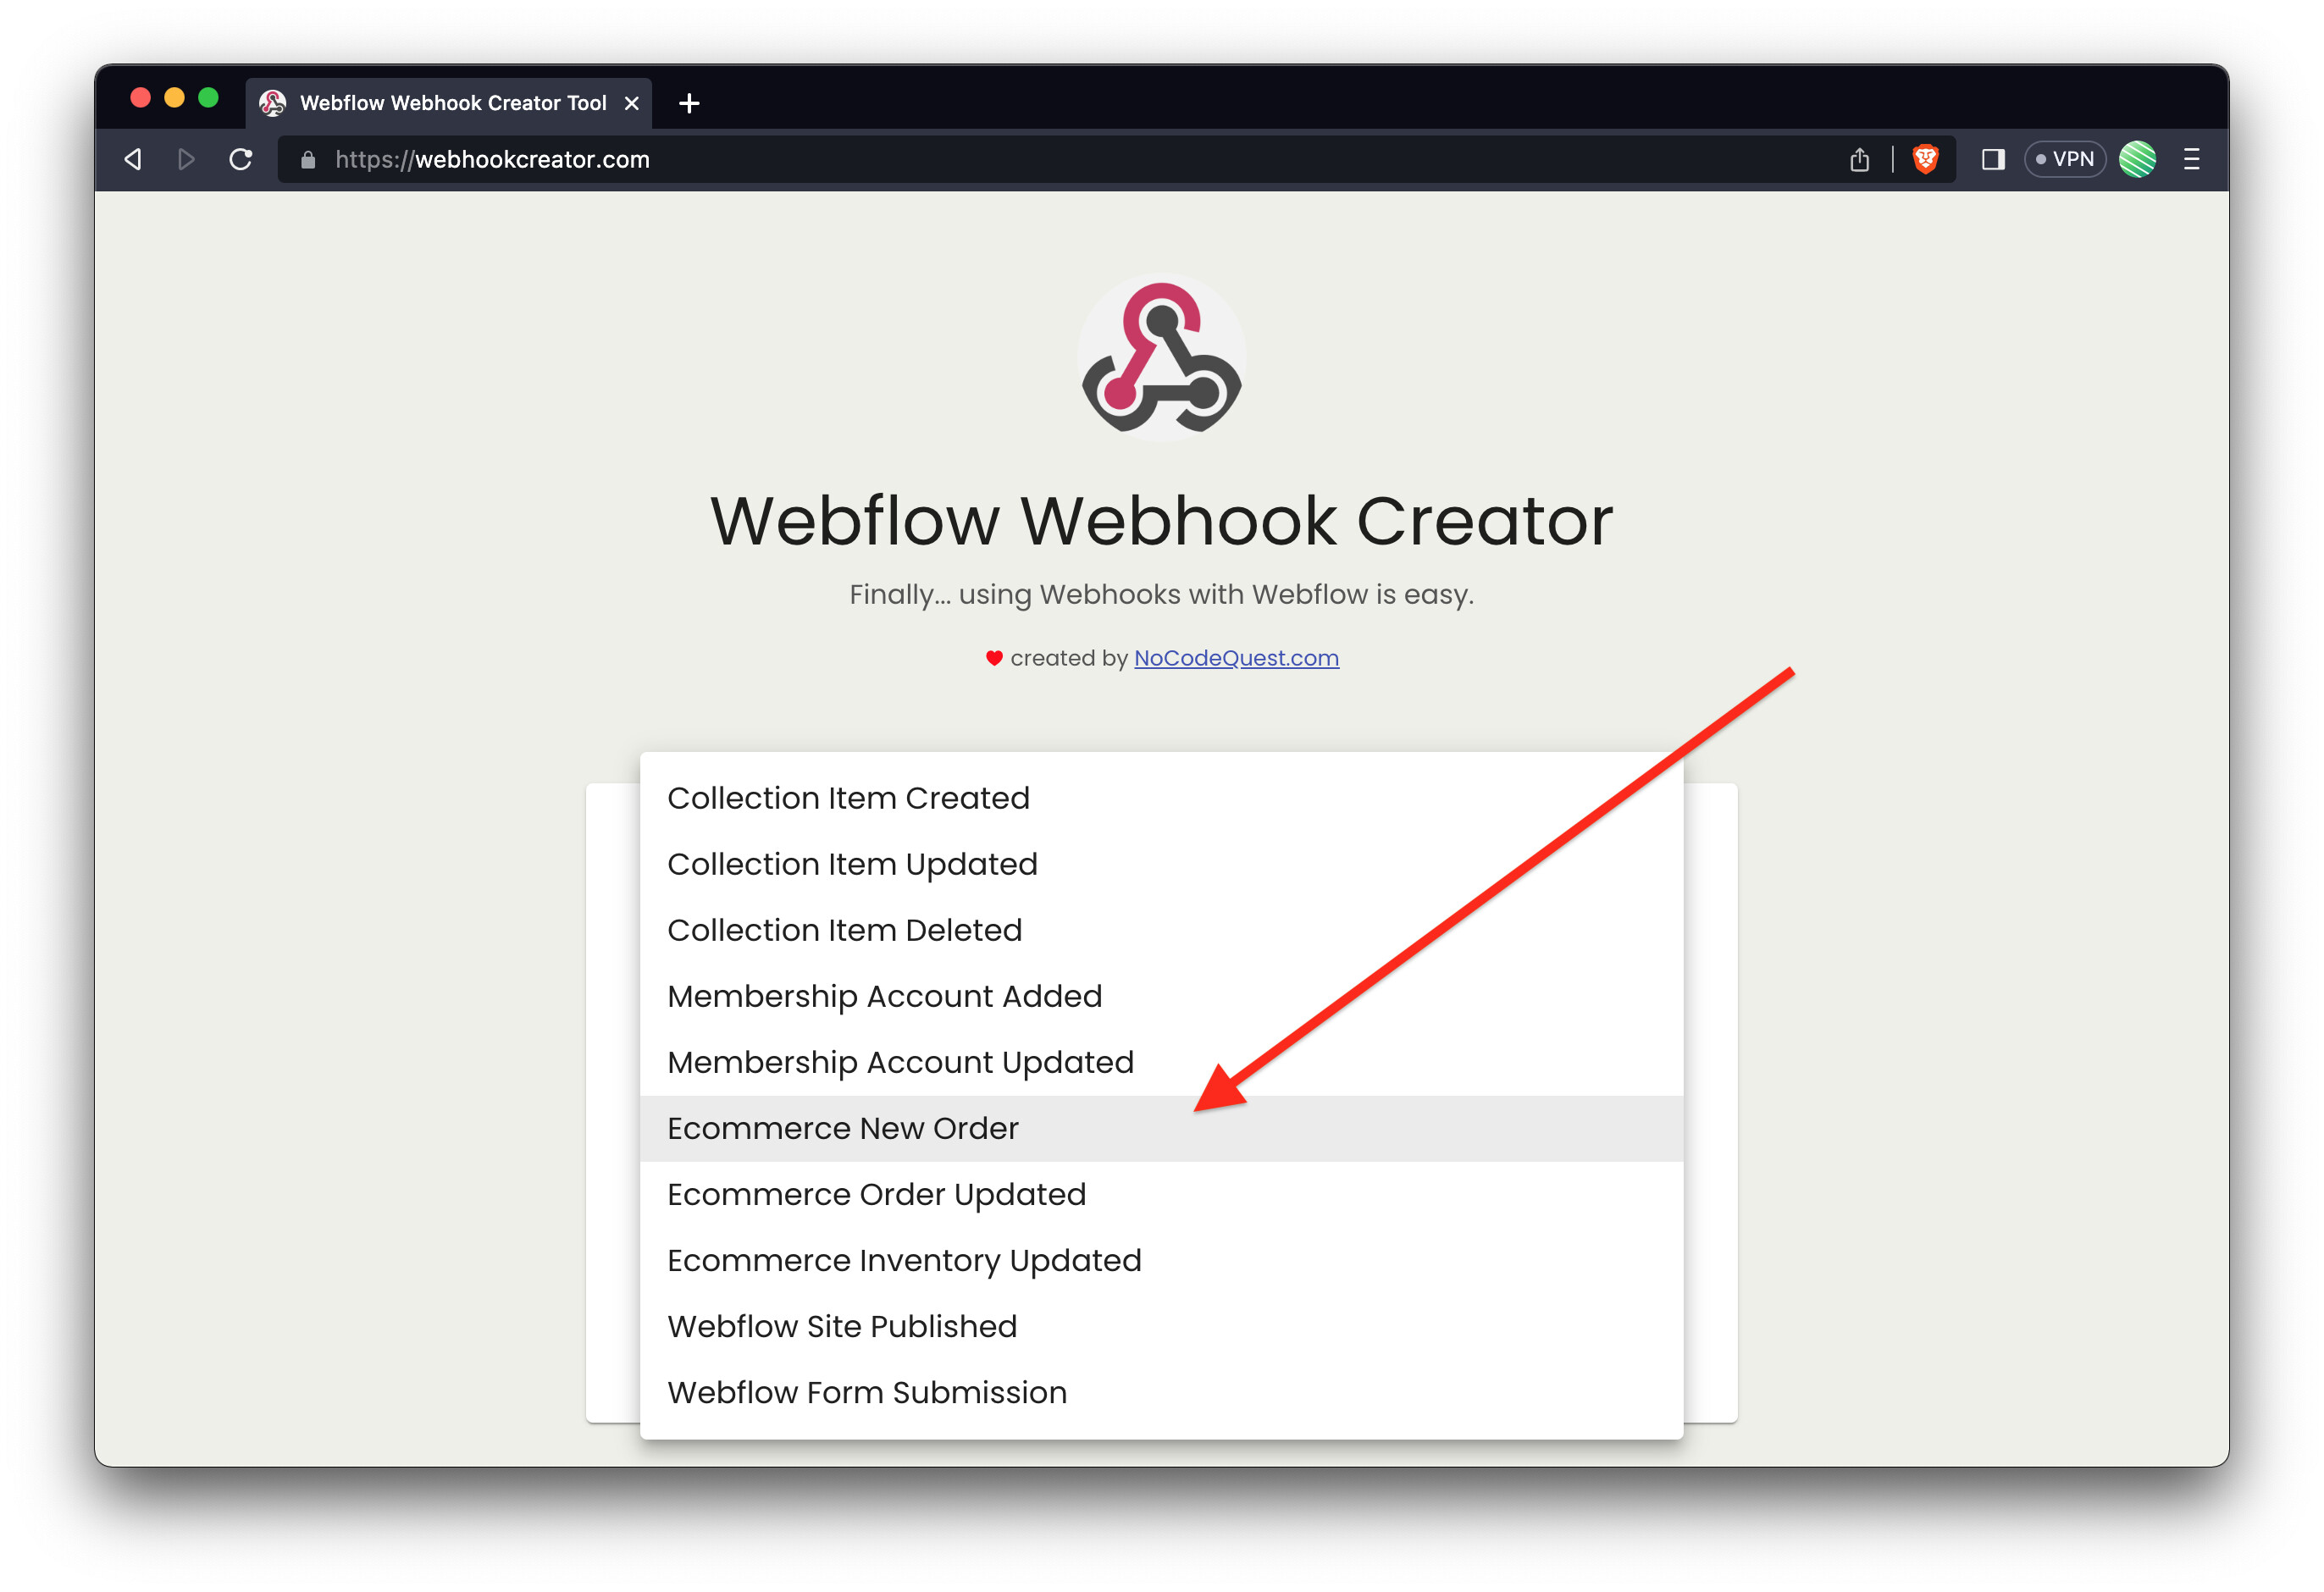
Choose the New Order trigger event.
Connect your Webflow account and select the e-commerce site you’re working on. Test the connection to ensure it’s fetching the data.
For the Action:
Search for Airtable and select it.
Choose the Create Record action event.
Connect your Airtable account. Then select the base and table where you want to send the order data.
Map the Webflow order data fields to the corresponding Airtable fields. For example, link the ‘Name’ from Webflow to the ‘Customer Name’ in Airtable.
Test the action to ensure the data gets sent to Airtable correctly.
Finish and Turn on the Zap
Once you’ve tested and everything looks good, turn on your Zap.
Now, every time a new order is placed on your Webflow e-commerce store, the order data will automatically be sent to your Airtable base.
Additional Considerations:
Consider adding filters or other actions in Zapier if you want to conditionally process the data or perform additional actions like sending emails, notifications, etc.
Make sure to monitor your Zap periodically, especially in the early stages, to ensure that it’s working correctly and that there are no hiccups.
Hi! I work at Relay.app (a flexible alternative to Zapier), and we’ve supported several customers with use cases like this. Feel free to email me at jacob@relay.app and I can help you set it up