Adding several markers on one Google Map from Dynamic Collection
I was doing research for one of my clients who asked how he could present information about the facility on the map, along with the title on the place. It wasn’t too hard to find a solution. The internet has several code solutions for that, based on the code that Google Maps is providing.
What made me really excited is that combining the NoCode tool as Webflow with some code from Google Maps API you can easily control WHAT information you will show and HOW the information on the map will look like.
Plus, if you have a Dynamic Collection with places, you can put all of them on ONE map. And I will show you how to do it.
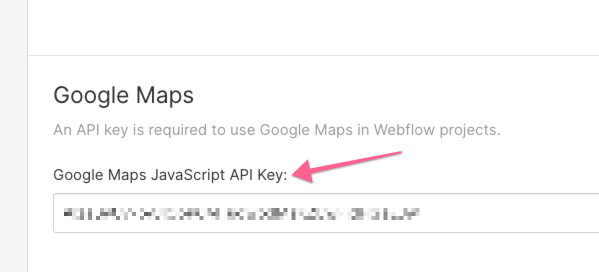
 Get the Google Maps API Key for your project
Go to Set up the Maps JavaScript API | Google for Developers and follow the guide to get an API
 Add Lattitude and Longitude to the Place CMS item
At this point, I assume you have a CMS collection where each item is pointing to some address. Well, you will need to do a bit of manual work and find out the Lattitude and Longitude for each address.
It is easy-peasy, just add an address to google maps in the browser, and you will see the location parameters in the URL. It will be numerical values after the @ - character. 1st value LATITUDE is, 2nd value is LONGITUDE. They are separated by a comma.
You will need to add a Plain text field for each value (![]() not a Number field) to the CMS item structure.
not a Number field) to the CMS item structure.
Important: Why I do not recommend using Geocode that can calculate each place’s location based on the address.
While Google Maps API has a function that allows calculating a location based on the address, we will be running the code and generate a map when the page loads. That means you would be calling geocode every time somebody views your page and not caching your results anywhere in the DB! Plus, as many times as many CMS items you have.
This way, you will hit the limit allowed by Google pretty fast.
The reason that limit exists is to prevent abuse from Google’s resources (whether it is willingly or unwillingly). So after passing the limit, you would end up paying for each page view ~10 US cents
Using Google maps own DEFAULT service for detecting Land and Lat seems a much better solution to me.
 Add the div block to place the map on the page
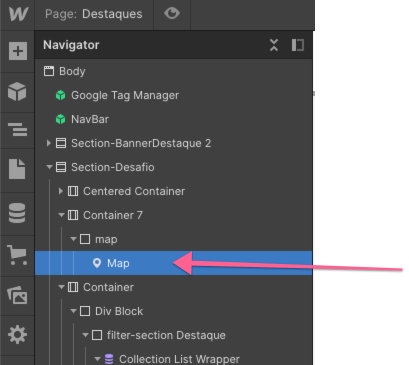
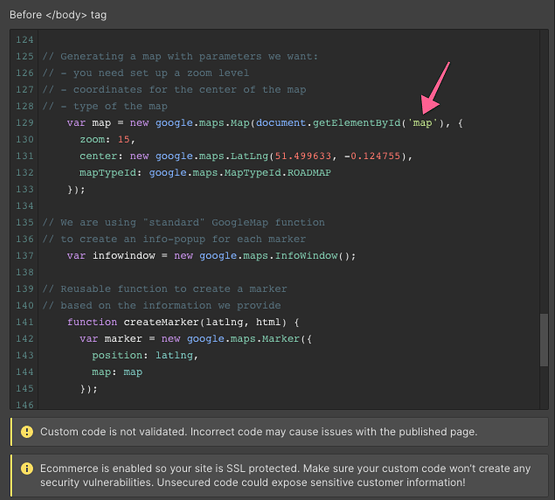
Once you will decide where is your map will be located, add a div-block and give it an ID map
 Design the info-block for the place
Somewhere on the same page with the map, add a Collection List and bing it to your Collection with Places.
And here is my favorite part: now you can design how info-popup will look like on the Map for each Place. Your site’s visitor will be able to click on the marker on the page and see that popup. Here you can include information that you want to provide, address, image, etc. And you can CREATE A LAYOUT and STYLE it the way it fits your needs! ![]()
Only one requirement: wrap it with a specific DIV and gice it a class name that you will then use in the custom code
 Add the code (script) that will generate the map and place clickable markers on it
![]() We will be adding all the following code to the custom code area on the PAGE level, before the
We will be adding all the following code to the custom code area on the PAGE level, before the <\body> tag
a) You must include an API key with a Maps JavaScript API request. In the following example, replace YOUR_API_KEY with your API key.
  <script async defer src="https://maps.googleapis.com/maps/api/js?key=YOUR_API_KEY&callback=initMap"
  type="text/javascript"></script>
b) Then the actual custom code:
(I added as many comments in the code as possible, for easier orientation)
<script>

// All code will be running when page loads
  window.addEventListener('load', function () {

// Preparing a "list" of locations
    var locations = []

// We have a dynamic collection on the page
// with all the information that we need.
// Change the "place" class name
// with the one that you use for the collection item
    var dynPlaces = document.querySelectorAll('.w-dyn-item.place');

  // Now we can define each piece of information
  // that we want to publish to the popup on the map
    dynPlaces.forEach( function(elem) {

// This will be the information that needed to identify
// the actual location on the map
      var place = [];
  // Change classnames to those that you used
  // for each element in your "info-block"
      var title = elem.querySelector('.place-title').innerText;
      var pAddress = elem.querySelector('.place-address').innerText;
      var descript = elem.querySelector('.place-description').innerText;
      var pLat = Number(elem.querySelector('.lat').innerText);
      var pLong = Number(elem.querySelector('.long').innerText);
      var infoText = elem.querySelector('.info_content').innerHTML;

      place.push(title, infoText, pLat, pLong); // Adding required info about each place to the array of places

      locations.push(place);   // Adding each place to the array of Locations
    });

// Generating a map with parameters we want:
// - you need set up a zoom level
// - coordinates for the center of the map
// - type of the map
    var map = new google.maps.Map(document.getElementById('map'), {
      zoom: 15,
      center: new google.maps.LatLng(51.499633, -0.124755),
      mapTypeId: google.maps.MapTypeId.ROADMAP
    });

// We are using "standard" GoogleMap function
// to create an info-popup for each marker
    var infowindow = new google.maps.InfoWindow();

// Reusable function to create a marker
// based on the information we provide
    function createMarker(latlng, html) {
      var marker = new google.maps.Marker({
        position: latlng,
        map: map
      });

 // Allow each marker to have an info window
      google.maps.event.addListener(marker, 'click', function() {
        infowindow.setContent(html);
        infowindow.open(map, marker);
      });
      return marker;
    }

    gmarkers = [];
    for (var i = 0; i < locations.length; i++) {
      gmarkers[locations[i][0]] =
        createMarker(new google.maps.LatLng(locations[i][2], locations[i][3]), // passing lat and long
                                locations[i][1]); // passing Info-window information
    }

  }, false);

</script>
 BONUS: add the button that will show the place on the map and open the info popup.
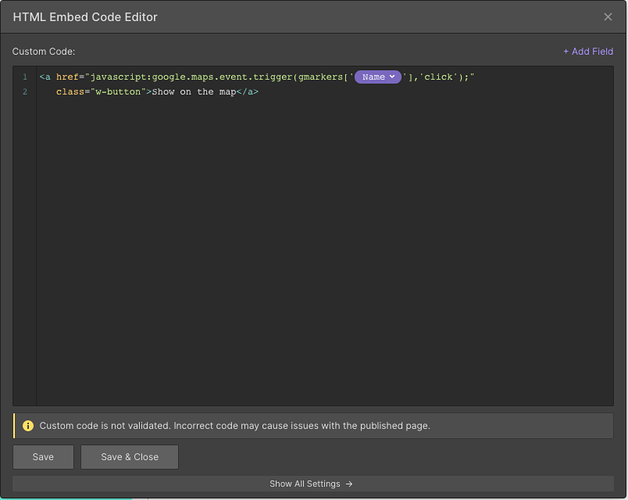
We also can add an embed button inside our dynamic item which will center a map on that item (place) and open the info-window for it:
- Add an embed element inside the Collection item
- Add this code inside and replace
NAME_OF_DYNAMIC_ITEMwith binding to the Collection item Name
<a href="javascript:google.maps.event.trigger(gmarkers['NAME_OF_DYNAMIC_ITEM'],'click');"
   class="w-button">Show on the map</a>
Of course, you will need to add an additional class name to that button (anchor) to be able to style it the way you need it. Just add a class to the code here, then place a standard Webflow button to the page and give it the same exact class name. By styling that “standard” button you will be changing slites on these embedded buttons


