I am setting up a template that uses particular brand colors. I’ll probably use a CMS collection for the color scheme so that a different brand can just change things to their colors.
But, I create a range of shades with transparency. Is there any way to set a “class” with transparency alone so that say, 25% transparent can be applied to red, green, blue?
I’ve never worked on a template so I’m not sure what is exactly possible there, but I would try this:
1. Create a new element, let’s say a div.
2. Give it a classname of your choice, eg “transparent”.
3. Set the opacity of this element.
4. Delete the div and use the transparent class as a combo class on other elements.
If this doesn’t work, I would try to create a class in Custom code in Project settings and use it as a combo class (similiar to step 4). The downside is that the user won’t see the transparency in editor, only on the published page.
If you can’t place code in Project settings, you can use Embed element and place it on top of your page, make sure you wrap the code in the html style tag.
Setting each “color” as a class is straightforward, yes. But changing the transparency (alpha) changes the “color”. If I want three colors, red, blue, orange, I have 3 classes. If I want to set transparency 50 on those, I have to create 3 new classes red50, blue50, orange50.
What I really want to do is have 50 as a separate class so that I can apply it to ANY color.
Great idea, but it doesn’t work because Webflow opacity creates an actual hex or rgb color with the alpha (opacity) built in.
I don’t really want to go along the code route, so I think I’ll just have to create all the colors that I want in the style guide. And use a reliable naming system!
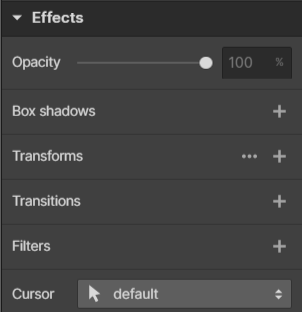
Oh this is where the issue actually is - you are trying to set two colors for the same element in order to use the opacity. You can set the opacity of the entire element by using it as an effect.
Now I have to go back to the beginning (again) with my colors. But I’m only on the second page of the template, so you’ve saved me huge amounts of work going forward!!
Well this one is a tricky case. The effect will set the opacity for the entire element, so everything inside the div has opacity of 30%. Theoretically you can create a background and use the class there, not sure whether you will prefer this over just creating new classes but here it goes (I’ll use the heading as an example):
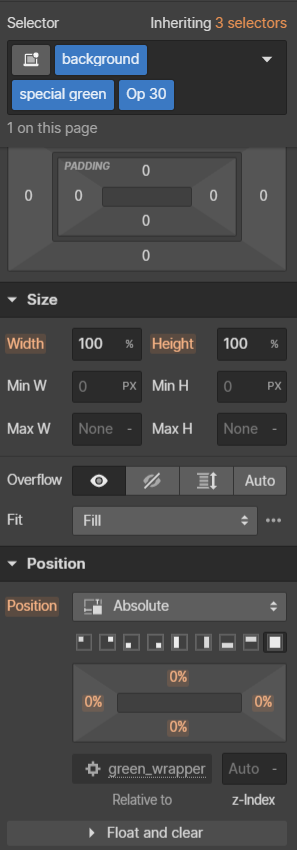
Delete the classes from special green and create a new class instead, let’s call it “green wrapper” and set its position to relative. (This div has no color.)
Create a new div inside “green wrapper” and call it “background”.
Set the Width and Height of “background” to 100%.
Set the position of “background” to Absolute and click the small button on the far right below it to set the position to 0% in every direction. (Or you can manually type it there.)
Add classes “special green” and “op30” to “background”.
Right now the heading is below the background, I’m not sure why, but let’s fix it by setting the position of Heading bg green to Relative. If the text is still hidden below the background, increase the z index.
Check the image on the left in my previous post. In the size section there is Width and Height set to 100%. This is what I meant by it. It is the same as setting up a size in px or em, just use 100% there.
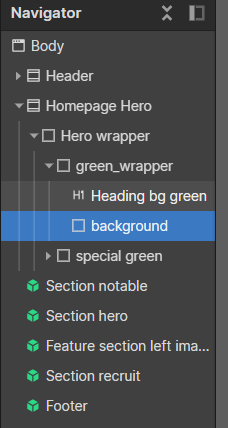
The right image in my previous post shows what the structure should look like in your navigator (in the Webflow editor it’s on the left.)
Also if you do some of these steps and nothing happens, that’s alright, make sure you finish all the steps and then check whether it works or not.
Sorry… a misunderstanding… your explanation was perfectly clear first time. I meant, while you were solving the problem, I was playing with relative and absolute and z index, but I didn’t get as far as the width/ height.
I’m now deconstructing the whole thing, so that it can all be built from classes from the ground up, and handwriting { in my “code”.